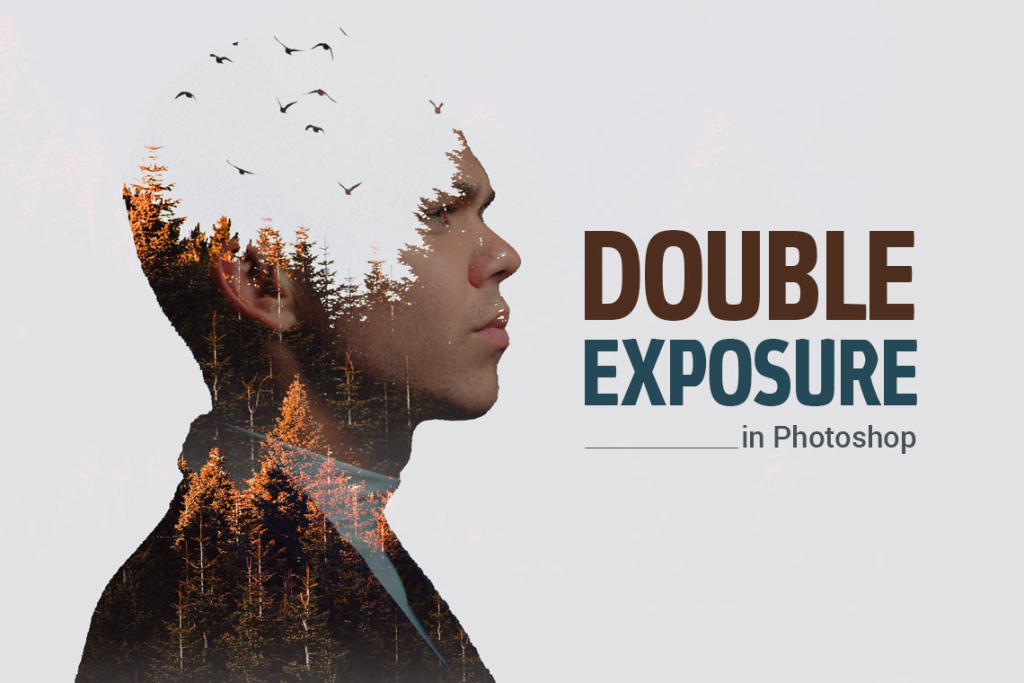
Double exposure stands as a mesmerizing photographic technique merging two or more images into a singular, distinctive composition. In today’s digital landscape, Adobe Photoshop stands as a powerhouse, offering a plethora of tools and features simplifying the process for beginners to craft breathtaking double exposure effects in mere steps. Within this introductory guide, we’ll navigate through the creation of double exposure effects in Photoshop, granting you the ability to channel your creativity and elevate ordinary images into extraordinary masterpieces.
Gather Your Ingredients – To embark on this journey, you’ll require two essential components: Photoshop (of course!) and two distinct images. Opt for images that contrast one another for a striking impact, such as pairing a portrait with a landscape, or opt for subtlety by selecting images with similar themes. The key here is experimentation and enjoyment!
Open Sesame (or Photoshop)– Open Photoshop and ensure both of your selected images are loaded in separate tabs. Soon enough, we’ll merge them seamlessly.
The Big Merge – Drag one image onto the other’s tab. Now, the fun begins!
Blending Modes are Your Magic Wand – Navigate to the “Layers” panel (accessible through Window > Layers) and locate the uppermost layer, representing your second image. Click on the dropdown menu adjacent to “Normal” and delve into the array of blending modes available. Each mode offers a distinct effect; experiment with “Overlay” for a lively fusion, “Multiply” for a more somber atmosphere, or “Screen” for a lighter touch. Let your creativity roam free as you explore these options and discover what ignites your inspiration!
Fine-Tuning Your Masterpiece – Within the “Layers” panel, manipulate the opacity of the top layer to regulate the intensity of the blend. Desire a subtle integration where one image gently permeates the other? Simply reduce the opacity. Craving a more pronounced effect? Amp it up to your liking!
Extra Spice (Optional) – Looking to elevate your creation? Embrace layer masks—an intermediate technique, yet still accessible for beginners—to selectively unveil specific areas of each image, thereby crafting even more distinctive effects. Locate the rectangular mask button positioned at the base of the “Layers” panel to commence.
Voila! Double Exposure Delight! – Save your masterpiece and marvel at your artistic ingenuity! Share it with the world, and prepare to witness jaws dropping as they marvel at the magic you’ve conjured.
Conclusion
Crafting double exposure effects in Photoshop stands as an enjoyable and fulfilling creative endeavor, offering a canvas for unleashing your imagination and delving into various visual techniques. Through this introductory guide and by immersing yourself in Photoshop’s tools and functionalities, you’ll craft striking double exposure compositions that reflect your distinct artistic perspective. So, gather your images, launch Photoshop, and allow your creativity to flourish as you embark on a journey into the realm of double exposure photography.


Leave a Reply
You must be logged in to post a comment.