Blending photos with backgrounds in Photoshop involves layering images and refining their integration for a seamless composition. Open the main image and the photo to blend. Select the subject, add a layer mask, and experiment with blending modes for a natural look. Adjust opacity, match colors using adjustment layers, and add shadows/highlights. Refine details with brushes, then merge or group layers. Apply final touches for a polished, professional result, achieving a harmonious blend of subject and background in Photoshop.
What is blending mode in Photoshop?
In Photoshop, blending modes refer to the various ways in which layers interact with each other when they overlap. These modes determine how the colors and tones of pixels on one layer combine with those on the layers beneath. Each blending mode produces a different visual effect, allowing for creative and complex compositions. Some common blending modes include:
- Normal: The default mode where layers stack without interaction.
- Multiply: Darkens the underlying layers, often used for shadows.
- Screen: Lightens the underlying layers, useful for creating highlights.
- Overlay: Combines Multiply and Screen, enhancing contrast.
- Color Dodge: Lightens the image, particularly brightening colors.
- Color Burn: Darkens the image, intensifying colors.
- Soft Light/Hard Light: Similar to Overlay but with varying intensity.
- Difference: Highlights the differences between pixel values.
- Hue/Saturation/Lightness: Adjusts the hue, saturation, or lightness of underlying layers.
Blending modes offer powerful tools for photographers and digital artists, enabling them to experiment with and manipulate images creatively.
What is the benefit of blending in Photoshop?
Blending in Photoshop offers a myriad of benefits for digital artists and photographers. It allows the seamless integration of multiple images, enhancing creativity and visual impact. By combining layers with various blending modes, artists can achieve diverse effects, from realistic shadows and highlights to surreal compositions. Blending enables the creation of nuanced color variations, emphasizing contrast and depth. This technique is essential for photo retouching, compositing, and digital art, providing the flexibility to experiment, refine, and achieve visually stunning results. Ultimately, blending in Photoshop is a powerful tool for expressing artistic vision and producing polished, professional imagery.
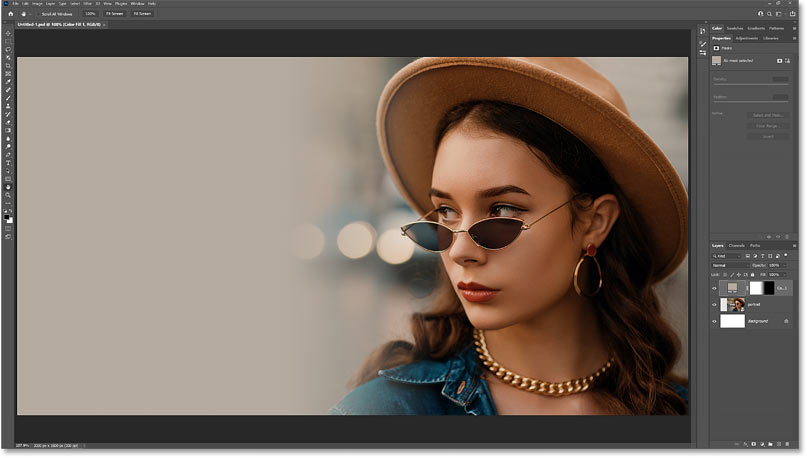
Open Images:
Open your main image (background) and the photo you want to blend. Arrange Layers:- Place the photo layer above the background layer in the Layers panel. Select Subject:
- Use selection tools (e.g., Lasso, Pen, or Magic Wand) to isolate the subject in the photo. Refine Edges:
- Refine the selection edges using “Select and Mask” to ensure a smooth transition. Add Layer Mask:
- With the subject selected, click on the “Add Layer Mask” icon in the Layers panel. Adjust Blend Mode:
- Experiment with blending modes (e.g., Overlay, Multiply, or Screen) for a natural integration. Fine-Tune Opacity:
- Adjust the layer opacity to control the blending intensity. Match Colors:
- Use adjustment layers (e.g., Hue/Saturation) to match the colors of the subject with the background. Add Shadows/Highlights:
- Create realistic shadows and highlights to enhance integration. Refine Details:
- Zoom in and use brushes on the layer mask to refine details, ensuring a seamless blend. Merge or Group Layers:
- Once satisfied, merge layers or group them for organization. Final Touches:
- Apply any additional adjustments, filters, or effects to harmonize the overall composition.

- This process allows for precise control over the integration of photos into backgrounds, providing a professional and polished result in Photoshop.
how to mix photos with background in photoshop किसी भी फोटो को फोटोशॉप में बैकग्राउंड में मिक्स कैसे करें


Leave a Reply
You must be logged in to post a comment.